
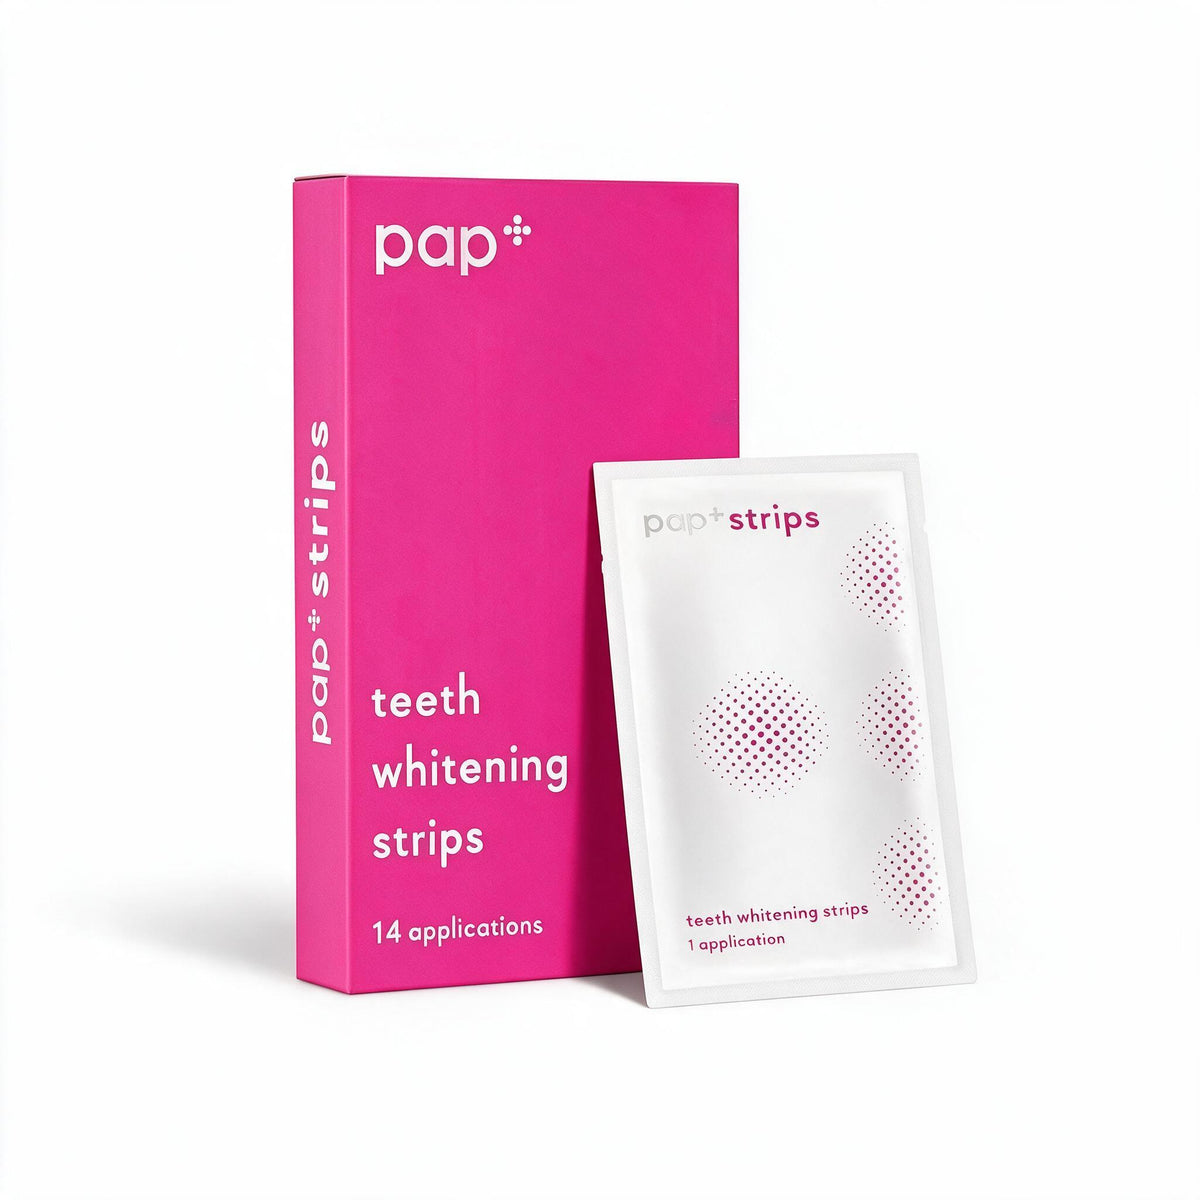
SelfGem Sparkling Strips (14 pairs of strips)
Free from €35 · free from €45 from €45
Your parcel is usually posted within 1–2 business days, always with track & trace.Your parcel is usually posted within 1–2 business days, always with track & trace. Due to the busy period, delivery may take 1–2 days longer. You’ll see your expected delivery date below the order button.
In stock
 ValuedShops 8.4
The perfect match for your tooth gem: a fresher, brighter smile.
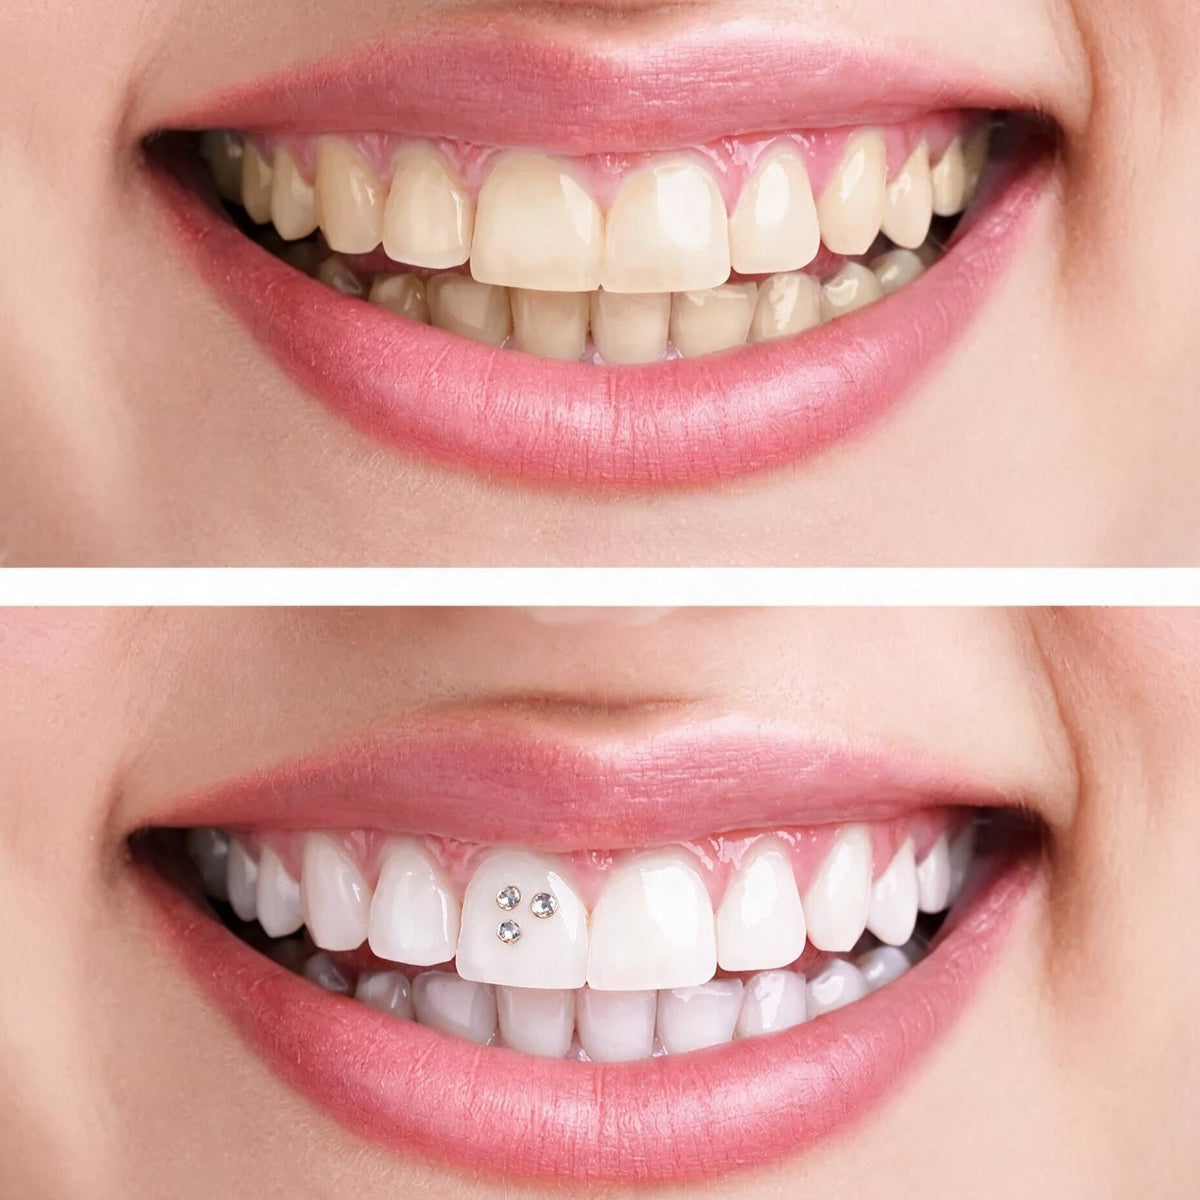
A tooth gem stands out even more against lighter teeth. That is why many people whiten first, before they apply their tooth gem.
Our strips use PAP+ instead of peroxide. They help reduce discolouration from things like coffee, tea, wine or smoking. Most people see a difference after a few days. How much lighter your teeth get varies from person to person.
Why these strips
- Peroxide-free. PAP+ is a milder way to whiten than classic peroxide strips.
- Gentle on your teeth. Made to keep sensitivity to a minimum. Still notice something? Use them every other day or take a short break.
- Easy to use. 30 minutes a day, simply at home.
- 14 pairs of strips. Enough for 7 to 14 days of whitening.
How to use
- Brush your teeth and make sure they are dry.
- Stick the strip with the gel side onto your upper teeth and press it on well. Do the same for your lower teeth.
- Leave the strips on for 30 minutes. Do not eat or drink during that time.
- Remove the strips and rinse your mouth with water.
- Repeat once a day for 7 to 14 days.
Choose your result
- 7 days: 1 pair of strips a day, for a first visible difference.
- 14 days: 1 pair of strips a day, for the most effect.
Whiten first, then apply your tooth gem
If you whiten after your tooth gem is already on, the spot under your tooth gem stays darker than the rest of your tooth. So whiten for 7 to 14 days first, then apply your tooth gem. Wait at least one day after your last strip. Then your tooth gem sparkles on a fresh smile. Everything you need to apply your tooth gem yourself is in the Mix & Match tooth gem kit.

What do our customers think?
4.6 from 264 reviews
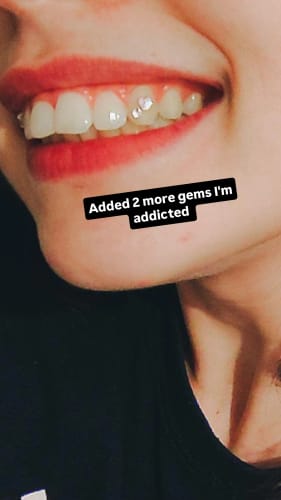
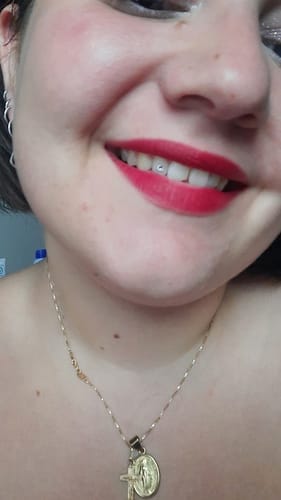


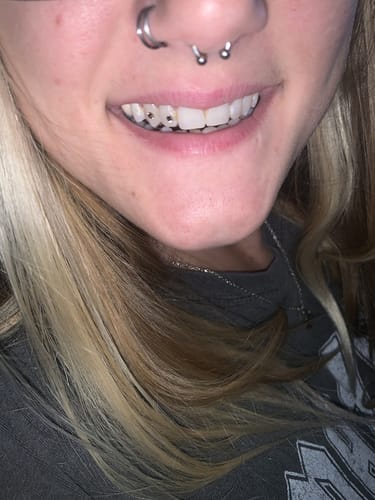
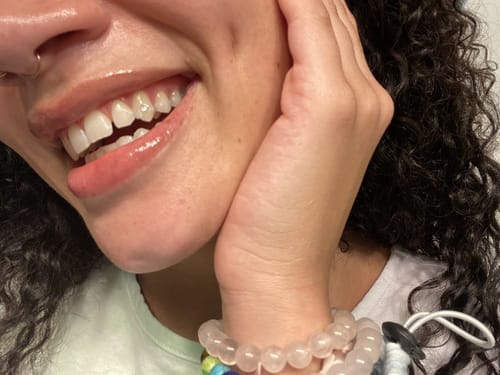

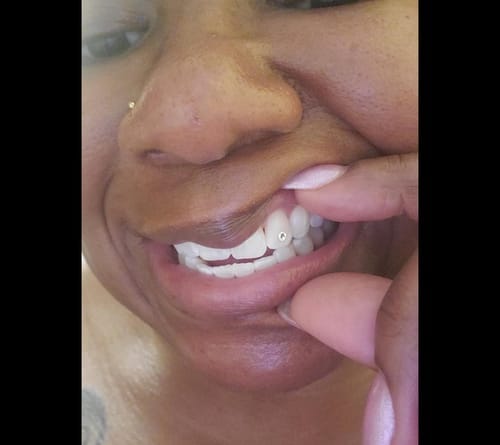
“Quick and easy to apply, looks great and holds well. The glue doesn't leave any residue either.”
Laura R. · verified“Exactly what I was looking for in quality and choice of gems”
Layla H. · verified“Looks tricky but it's simple to use. Very satisfied”
Yasmine K. · verified“Fantastic kit. Easy instructions and parts inside.”
Sara M. · verified“I thought the kit was cheap and good quality compared to what you pay at those clinics.... Which are really absurdly expensive.”
Tessa K. · verified“Best tooth gems ever. Definitely boosted my confidence”
Leoni F. · verified
Some reviews may have been translated.
Frequently bought together
-
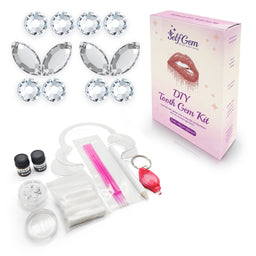
DIY Tooth Gem KitButterfly Set (12 gems)
€35 -
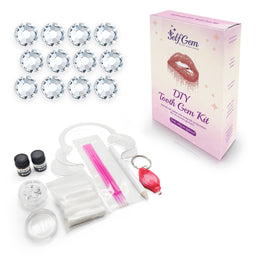
DIY Tooth Gem KitDiamond Set (12 gems)
€35 -
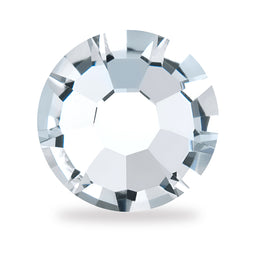
Diamond5 pieces · €7,99
Rather choose yourself?
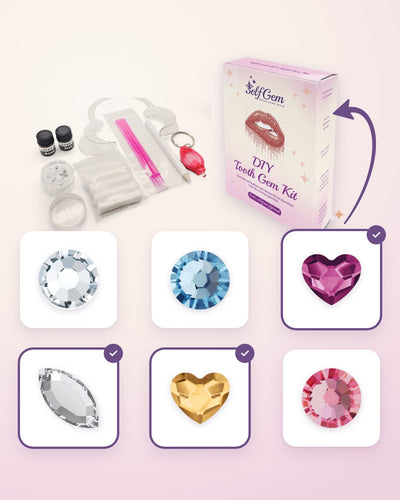
Choose which gems go into your kit, in your own mix of shapes and colours.
Build your own kit your mix
 your style
Frequently asked questions
What do I need to apply a tooth gem again?
Fresh Etch & Bond, application sticks and cotton rolls. They all come together in the Refill Pack. You can simply reuse the UV lamp, cheek retractor and wax pencil from your kit. Pick a new gem from our tooth gems to go with it.
Can I reuse a tooth gem?
No, always use a new gem and fresh glue after removing one. That way your new tooth gem stays on best. Loose tooth gems and Etch & Bond are also sold separately.
Which glue is safe for tooth gems?
Never use super glue, nail glue or any other glue on your teeth. Etch & Bond is made for applying tooth gems and leaves your enamel intact. Read more in tooth gem glue: which glue actually works?
Why aren't the Etch & Bond bottles full?
That's how it should be. Each bottle contains about 1 ml and is only half full: we sell by content, not by bottle size. The space at the top also helps prevent leaks. Run out of glue? Etch & Bond is also sold separately.
How long do I cure the glue?
60 to 120 seconds with the UV lamp, as close to your tooth as possible. Keep your tooth dry. More tips in curing tooth gems; every step is in the step-by-step guide.
How do I store Etch & Bond?
Store Etch & Bond somewhere cool and dark, out of direct sunlight. After use, push the inner stopper back in and screw the cap on tightly. This keeps the bottles airtight and stops the liquid from hardening. Etch & Bond is also sold separately.