A radiant smile looks effortless in photos, but the question behind the trend is a fair one: are DIY Tooth Gem Kits safe? The short answer is yes — they can be safe when the kit is designed for cosmetic use of Tooth Gems, the instructions are followed carefully, and the gem is applied to a healthy tooth. The bigger truth is that safety depends less on the trend itself and more on the materials, your technique, and knowing when to skip the at-home approach.
That's important because Tooth Gems exist in a strange gray area between beauty and oral care. They're decorative, but they do involve your teeth, which means cutting corners isn't cute. If you want the dazzling look without risking your enamel, you need clear expectations about what a safe DIY experience actually looks like.
Are DIY Tooth Gem Kits safe for beginners?
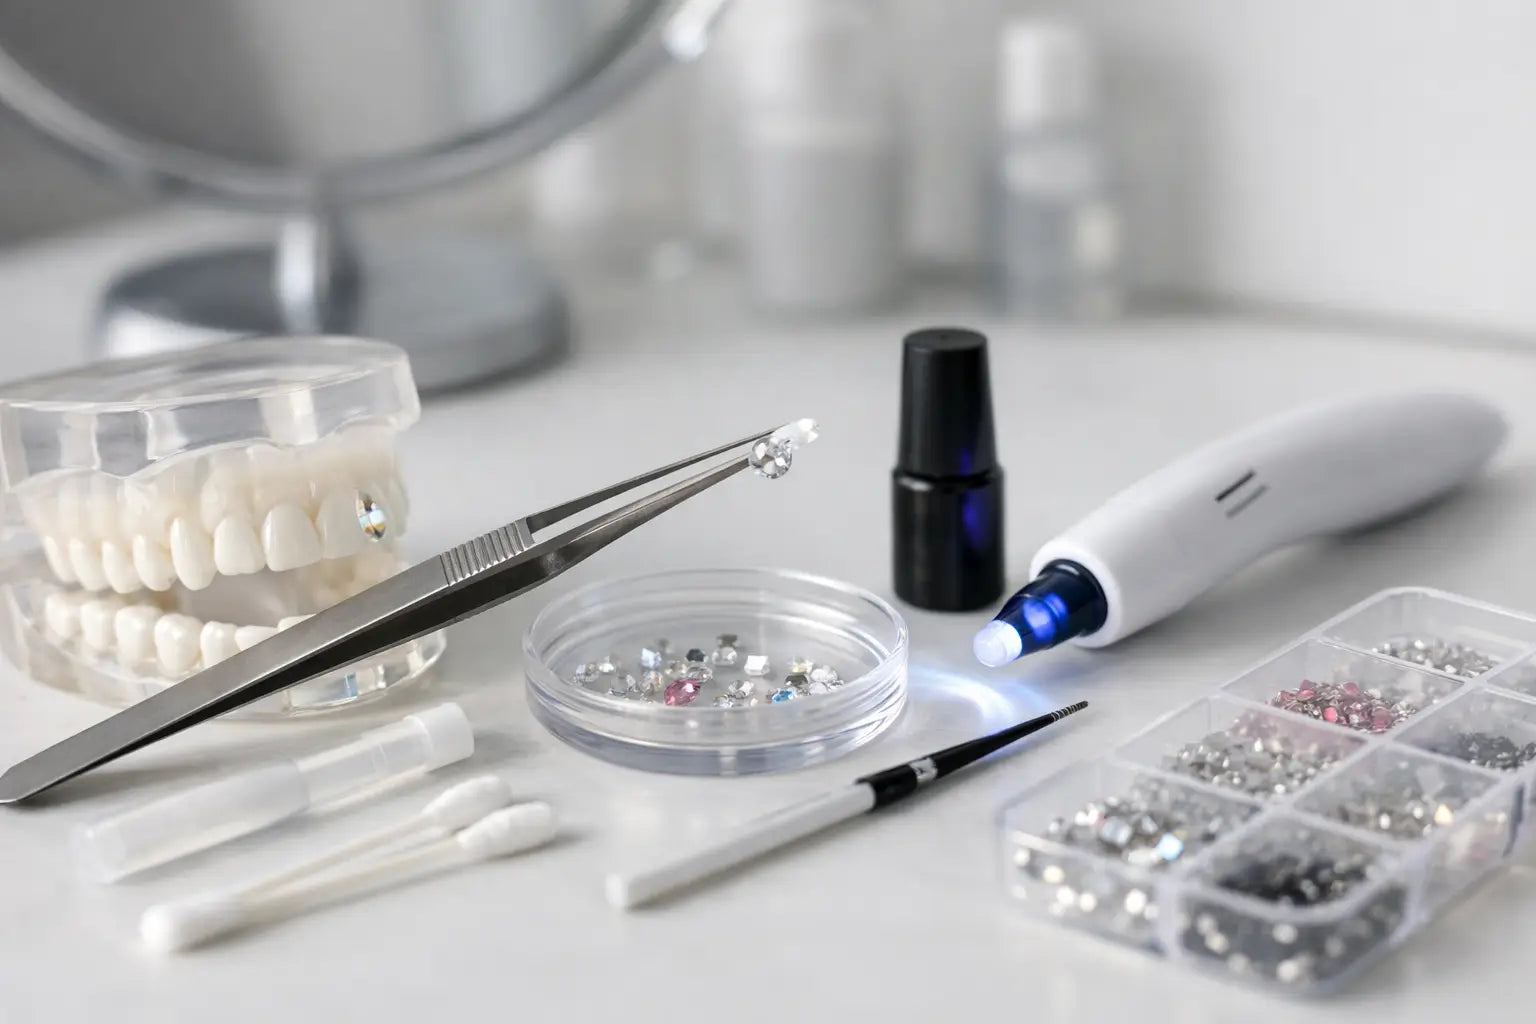
For many beginners, the safest DIY Tooth Gem Kit is one that keeps the process simple, includes the right application tools, and explains every step in plain language. A good kit is more than just a gem in a box. It should be built around cosmetic application, With tools that help you isolate the tooth, keep the area dry, and cure the adhesive correctly. If you're looking for an easy starting point, pre-packaged DIY Tooth Gem Kitsmake the process clearer.
Safety for beginners also depends on patience. Tooth Gems aren't difficult in the same way that false lashes aren't difficult, but they do require a clean, dry surface and careful placement. Most problems arise when someone rushes, skips the prep, or uses random glue that was never made for teeth.
If you have healthy teeth, no active dental issues, and a kit designed for Tooth Gems, applying them at home can be a convenient alternative to booking a salon appointment. If you have weak enamel, untreated cavities, gum irritation, or braces in the desired spot, that's when DIY stops being the easy beauty moment you're looking for.
What actually makes a DIY Tooth Gem Kit safe
The safest kits are specially designed for temporary cosmetic tooth jewelry. That sounds obvious, but it's the first filter. Never use nail glue, lash glue, craft glue, or household glue on a tooth. Those products aren't made for the mouth and can irritate soft tissue, come loose unpredictably, or leave residue that's harder to remove.
A safer kit typically includes a bonding system designed for Tooth Gem application, along with tools that support hygiene and precision. Think cotton rolls to keep everything dry, a gem picker for controlled placement, and a curing light if the adhesive system requires it. The goal is a firm bond on the tooth's surface — not a messy blob of glue near the gumline.
The quality of the instructions matters more than people think. A stylish kit is great, but a beginner-friendly guide is part of the safety story. Clear steps reduce common mistakes like applying too much product, placing the stone too close to the gum line, or touching the tooth after it's been prepared. If you want to see the basic steps explained clearly, our application instructions walk you through the process step by step.
The biggest risks to watch for
The main concern is enamel. Tooth Gems should sit on the outer surface of the tooth without damaging it. Problems can occur when someone uses the wrong adhesive, scrapes aggressively during removal, or applies a gem to a tooth that already has issues.
Another risk is irritation. If glue touches your gums or lips, it can cause discomfort. A small stone carefully placed on a smooth tooth is very different from a rushed application where product spreads through your mouth. This is why dryness and precision matter so much.
There's also the practical risk of the gem coming loose too soon. That isn't always dangerous, but it can be frustrating and tempt people to keep reapplying it with whatever adhesive they have on hand. Repeated poor applications are the point where a fun beauty detail can become a problem.
Oral hygiene matters too. A Tooth Gem shouldn't make brushing impossible, but it does create a new small surface where plaque can build up if you're careless with cleaning. A radiant smile still needs daily care.
How to recognize when a kit isn't worth the risk
If a kit is vague about what the bonding products are, skip it. If it suggests using multipurpose glue, skip it even faster. If there are no instructions on preparation, placement, curing, aftercare, or removal, that's also a red flag.
Be careful with oversized stones, rough charms, or shapes that tend to catch on lips or cause cleaning issues. Cute is important, but wearability matters too. Smaller, smooth Tooth Jewelry are generally easier for beginners and often look sleeker on the tooth. Looking at different tooth gems can help you see which styles feel wearable before you make a choice.
A good rule of thumb is simple: if the product information seems more focused on the photo opportunity than on the application process, it might not be the safest choice.
How to make DIY Tooth Gems safer at home
Start with a healthy tooth. Don't place a gem over a cavity, a crack, a chipped area, or irritated enamel. If your tooth is already sensitive, treat that as a sign to wait a little.
Next, work clean. Wash your hands, get your tools ready, and read all instructions before you open anything. The tooth surface needs to be clean and dry for the bond to work properly. Moisture is one of the easiest ways to ruin the application.
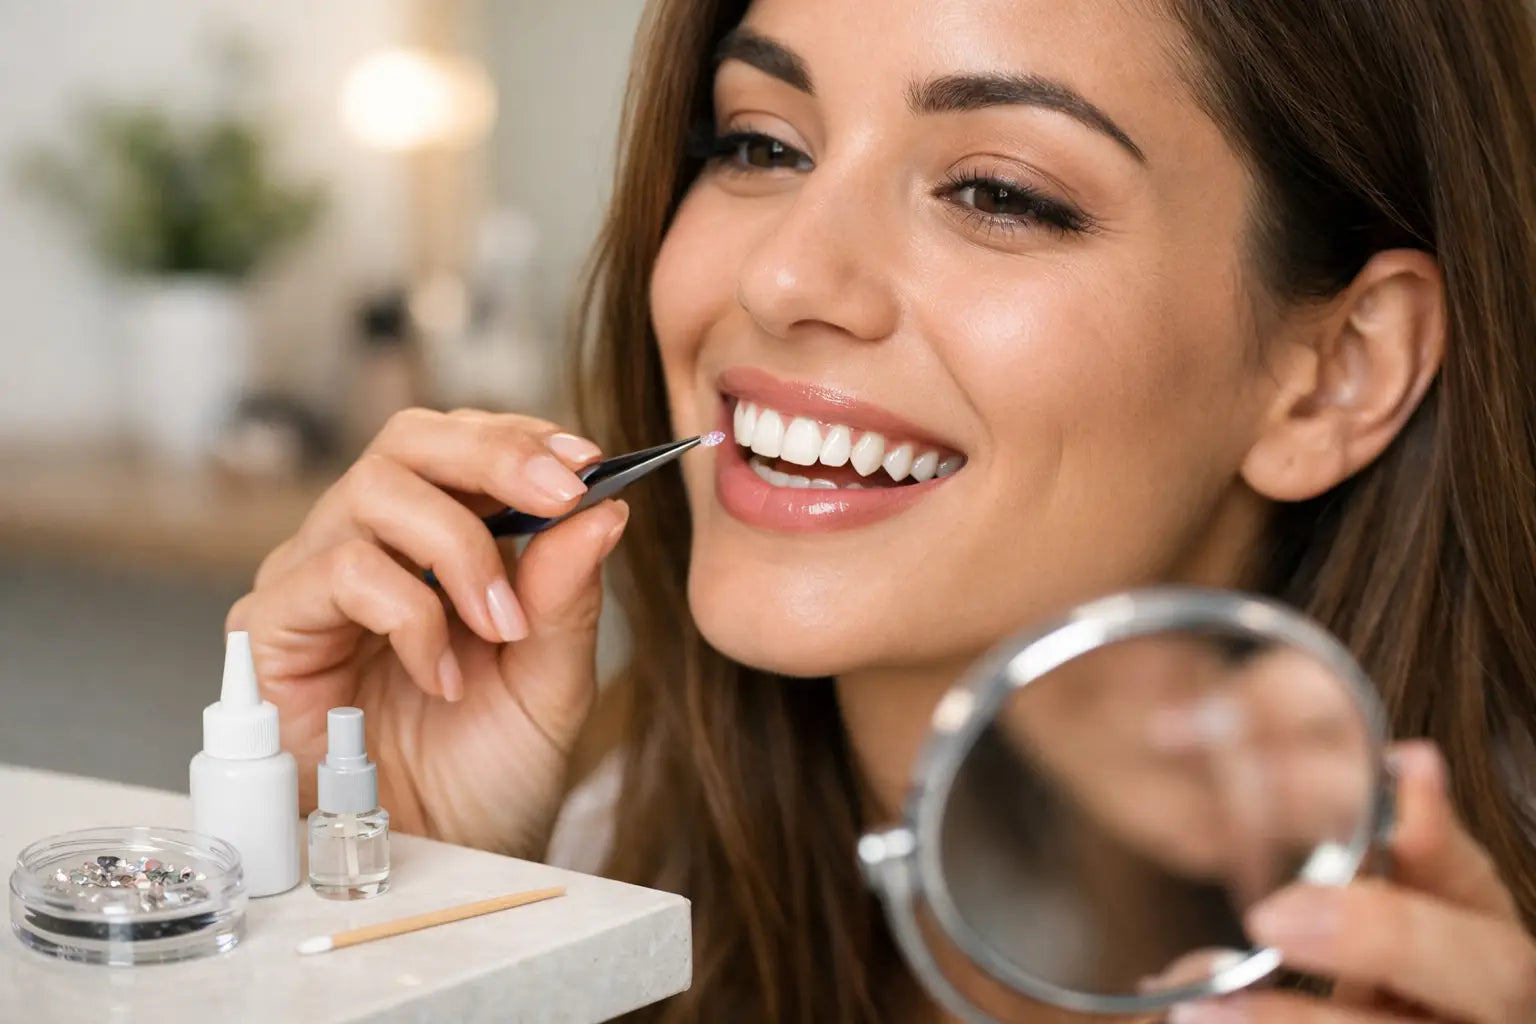
Placement matters more than people expect. The stone should sit on a flat, visible part of the tooth, away from the gum line. If it's too close to the edge or gums, it can feel uncomfortable or come loose more easily.
Use a small amount of product. More glue doesn't mean better bonding. It usually just means more mess and more room for error. Cure the bond exactly as directed if your kit includes a UV lamp. Guessing on timing isn't a good idea.
Leave it alone then. Don't poke at it with your tongue all day and avoid biting directly into hard foods right after application. Give the bond a chance to stabilize.
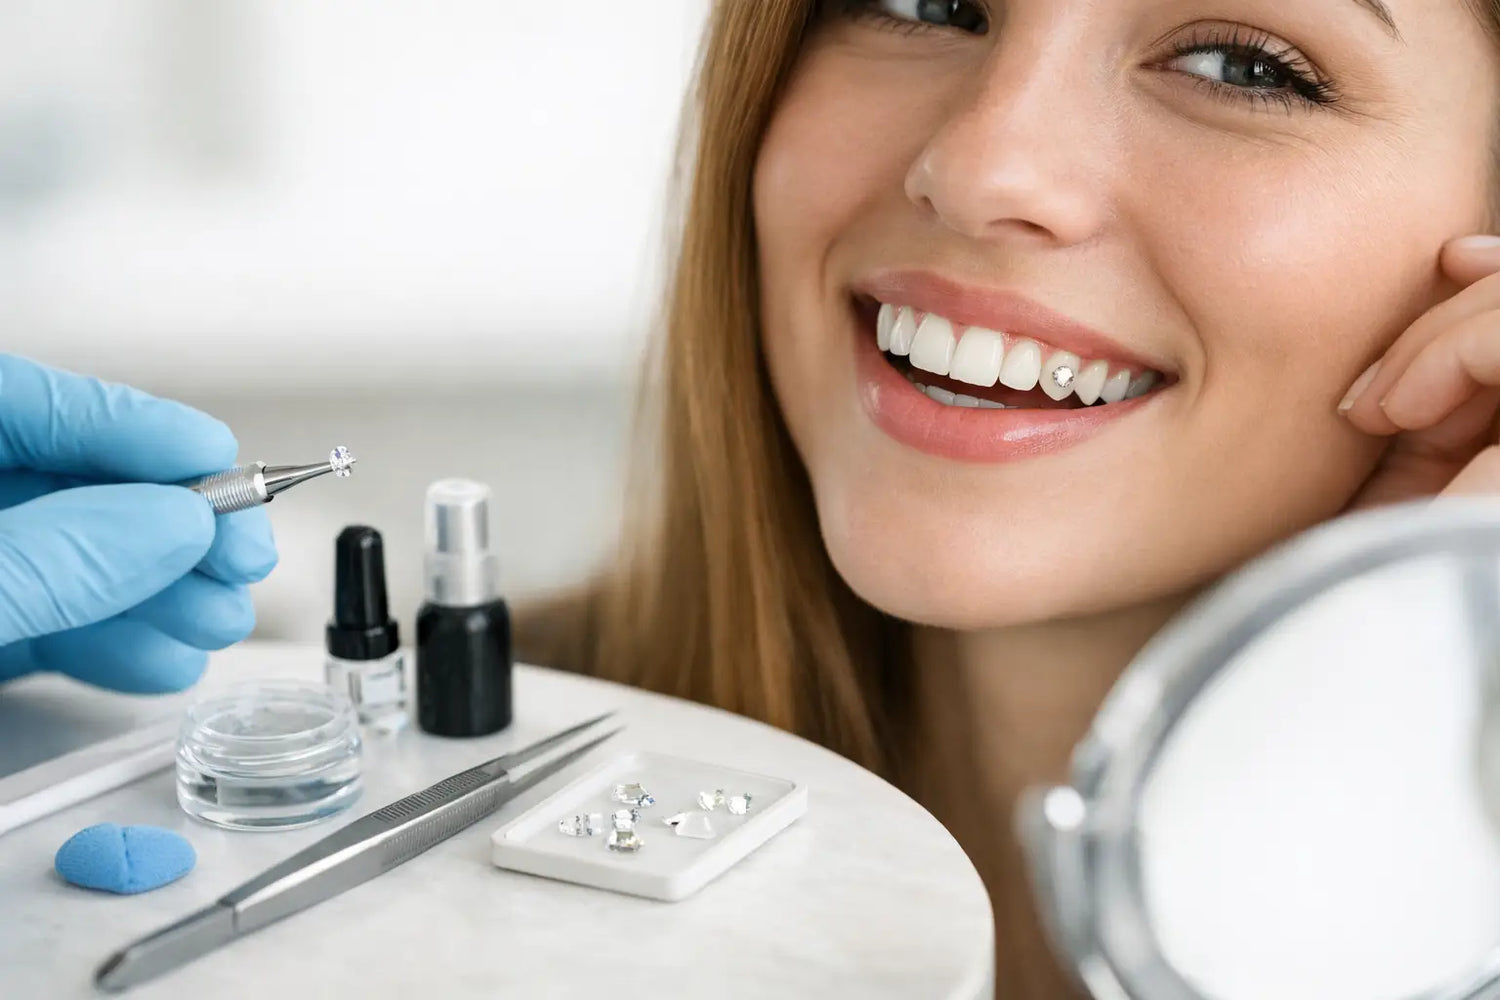
Are salon Tooth Gems safer than DIY?
Sometimes yes, sometimes no — and not always by a huge margin. A professional has experience, which can reduce placement errors. They may also have a more controlled setup and a steadier hand. That can be especially helpful if you want a more detailed design or feel nervous about doing it yourself.
But a salon isn't automatically safer just because it's a salon. The same basic standards still apply: suitable materials, clean technique, careful placement, and respect for enamel. A quality at-home kit with good instructions can be a perfectly reasonable choice for someone who wants convenience, affordability, and a little extra control over the look.
For many style enthusiasts, the real question isn't DIY versus salon in general. It's whether you have the right kit, the patience to follow instructions, and a healthy tooth to work with. That's the better safety test.
When to skip DIY completely
If you have cavities, gum disease, active tooth pain, enamel issues, or dental work on the exact spot where you want the tooth gem, it's smarter to wait. The same goes if you wear braces or aligner attachments on that tooth, or if you're not sure you can keep the area dry and still during application.
You should also skip the DIY route if your plan involves improvising With products that weren't designed for Tooth Gems. A trend should never turn into an experiment on your enamel.
If anything feels off during application, like sharp discomfort, a burning sensation, or obvious irritation, stop. Beauty should feel exciting, not risky.
Aftercare is also part of safety
Once your stone is in place, care is pretty straightforward. Brush gently but thoroughly, keep flossing, and don't treat the stone like a toy. Hard candy, chewing ice, and mindless picking can shorten how long it lasts.
Check the area occasionally. If the gem feels loose, don't try to reattach it with random adhesive. If residue remains after a gem comes off, don't scrape at your tooth. That's where enamel can take the hit. If you're not sure what to do next, our FAQ page the most frequently asked Tooth Gem questions.
The safest removal is patient removal. If you want to take the stone off, use the method recommended for the application system rather than forcing it. A little restraint protects your smile more than any shortcut.
So, are DIY Tooth Gem Kits safe?
They can be, and for many people they're a fun, low-pressure way to add a touch of luxury to their smile. The safe version of DIY isn't casual or improvised. It's informed, clean, and intentional.
If you choose a kit made for cosmetic Tooth Gems, follow the instructions carefully, and respect your oral health, a tooth gem at home can absolutely have a place in your beauty routine. At SelfGem, we focus on making the look accessible while giving beginners the guidance to feel confident — not confused — With a simple Tooth Gem selector that helps you choose the style that works best for you.
Your smile can sparkle and still be treated With care. That's truly the standard worth holding on to.