A cute gem is the fun part. What makes your at-home application actually look clean, stay put, and feel manageable is having the right tooth gem kit materials list before you start. If you’re setting up for your first sparkling smile, the difference between a stressful attempt and a smooth one usually comes down to prep, placement tools, and curing supplies.
What should be on a tooth gem kit materials list?
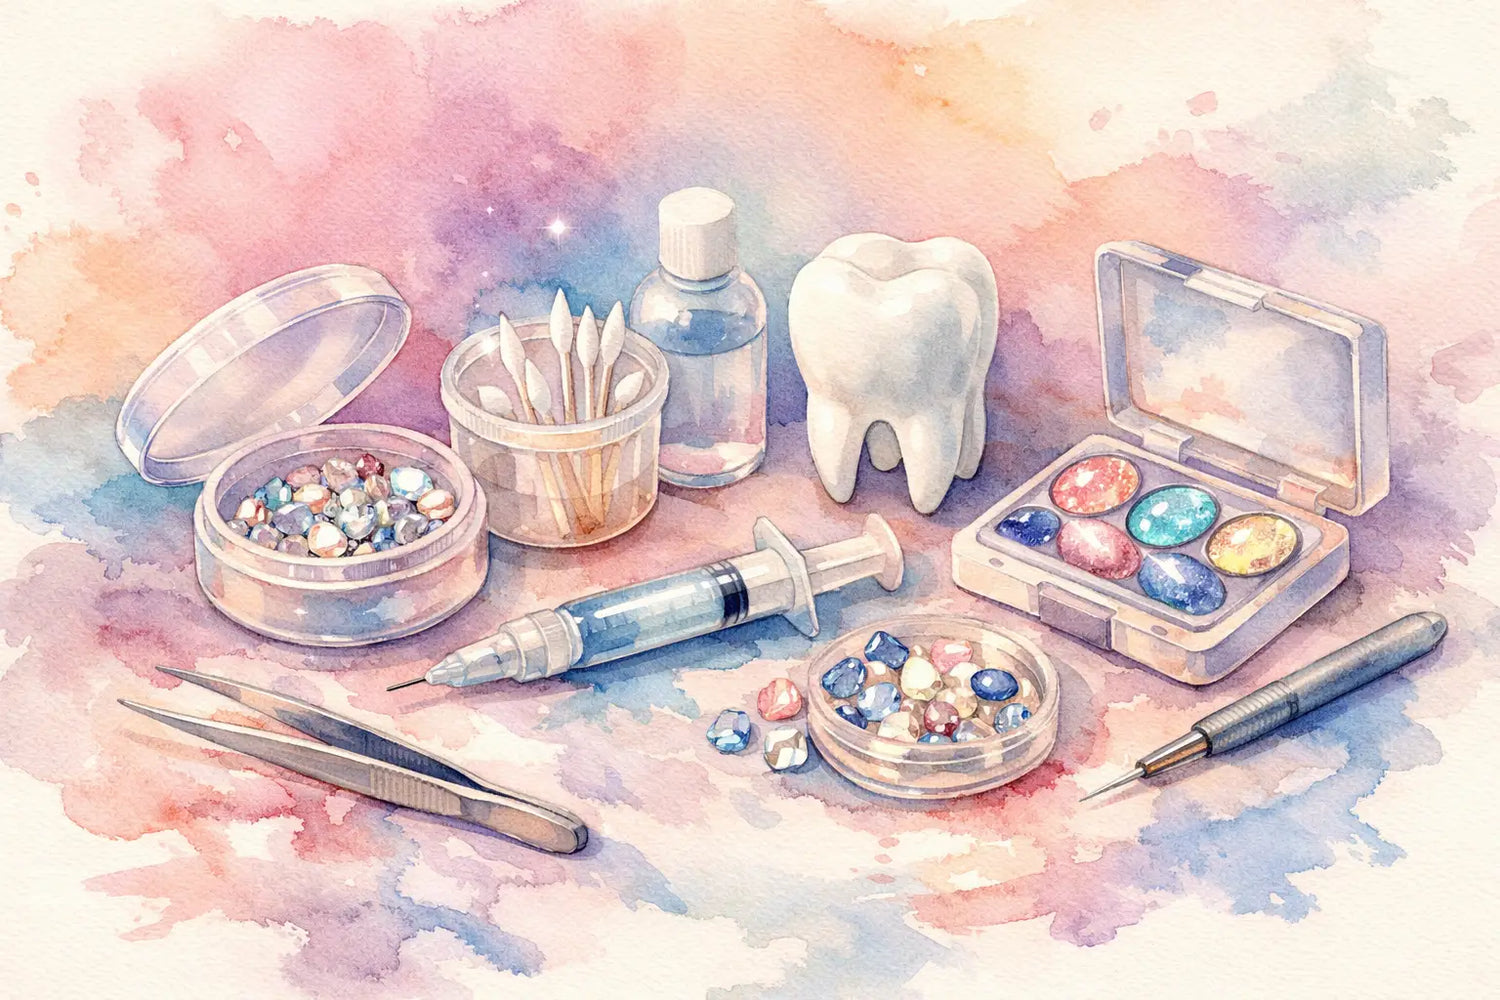
A solid DIY setup includes the gem itself, tooth prep materials, adhesive products, placement tools, and a curing light. You do not need a cluttered tray of random extras, but you do need the essentials to work together. Tooth gems are tiny, and the application process is detail-heavy, so each material has a job.
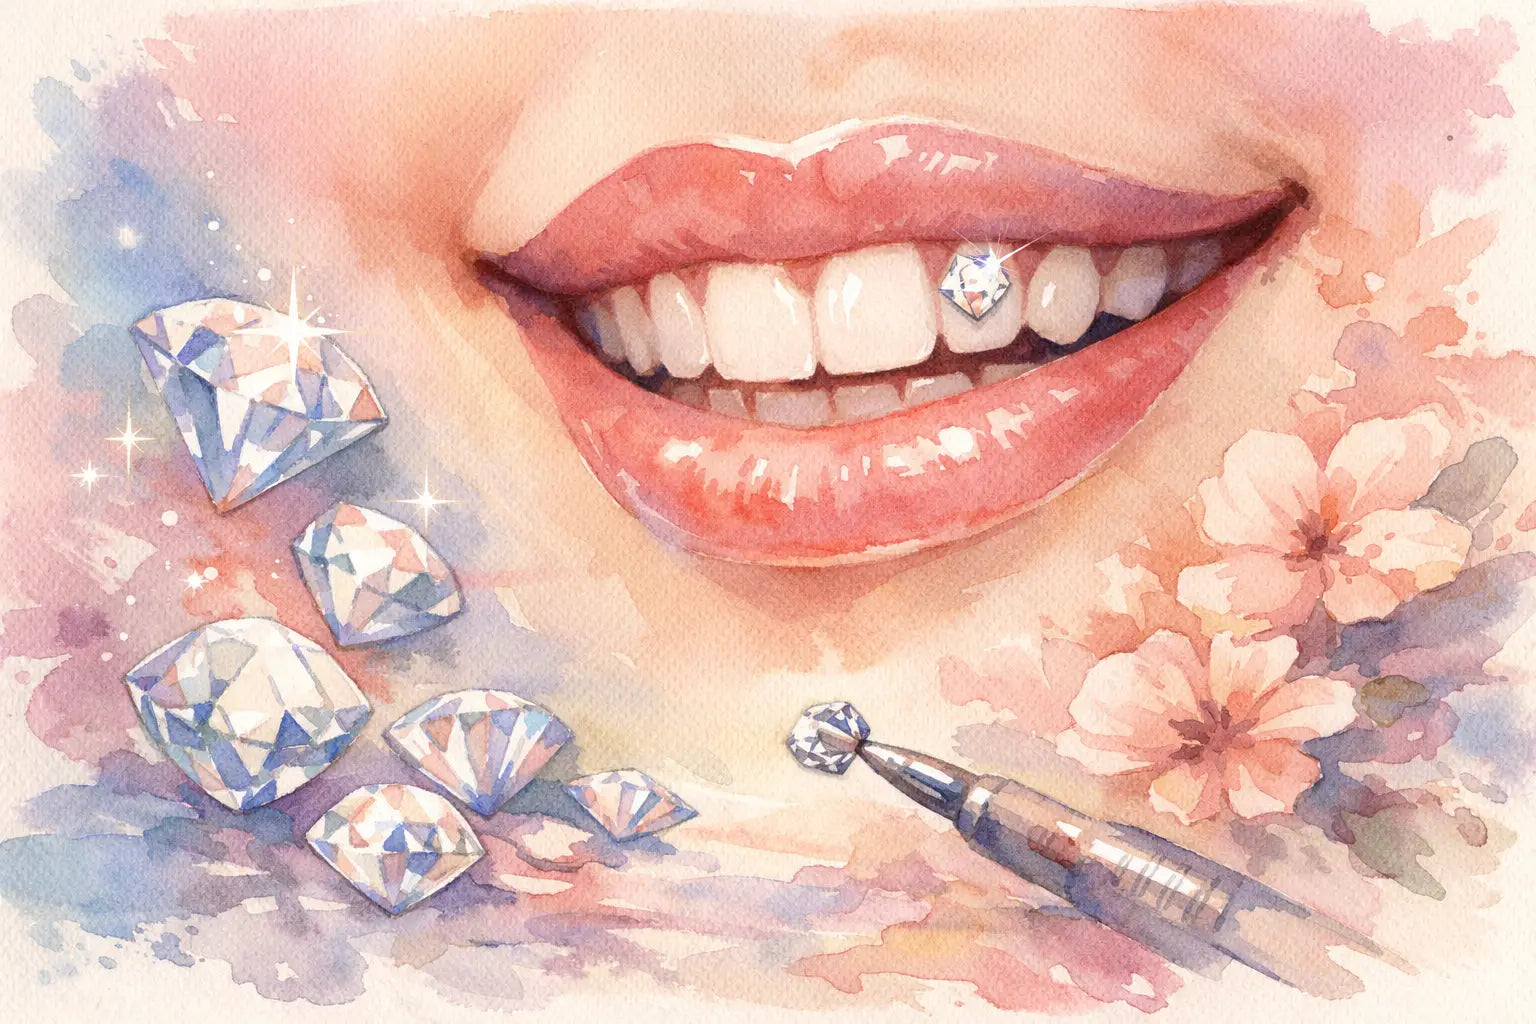
The most obvious item is the tooth gem. This can be a crystal, diamond-style gem, heart, butterfly, or another design that fits your look. Style matters, but size matters too. Smaller gems are often easier for beginners because they can be placed more precisely and tend to feel less intimidating during your first application.
Then comes the chemistry side of the process. Most DIY tooth gem kits use etch and bond to help the gem adhere properly to the tooth surface. Etch lightly prepares the enamel so the bond can grip better. Bond acts as the adhesive layer that helps hold the gem in place once it is cured. These are not glamorous products, but they are the reason the glam lasts.
A UV lamp is another non-negotiable for most kits. Without curing, the bond will not set the way it should. That means your application may shift, fail early, or feel inconsistent. If you want results that look polished instead of improvised, the curing step matters just as much as the gem you pick.
The core materials and what each one does
Tooth gem
This is your statement piece. Whether you want a subtle crystal or a bolder shape, the gem should be designed for cosmetic tooth application rather than repurposed craft rhinestones. Beauty and fit go together here. A gem made for teeth is meant to sit better on the surface and pair with the rest of the application system.
Etch
Etch prepares the tooth surface for better adhesion. It is a small step, but it does a lot of heavy lifting. Skipping it can make the process feel faster in the moment, but that shortcut often affects how well the gem stays on.
Bond
Bond is what helps secure the gem to the tooth. Think of it as the layer that connects your prep work to the final result. Different systems vary slightly, but the goal is the same - create a reliable hold once cured.
UV lamp
The lamp cures the bond so the gem sets properly. A weak or inconsistent curing light can create problems, even if everything else was done correctly. If you are building your own kit instead of buying a ready-made one, this is not the place to cut corners.
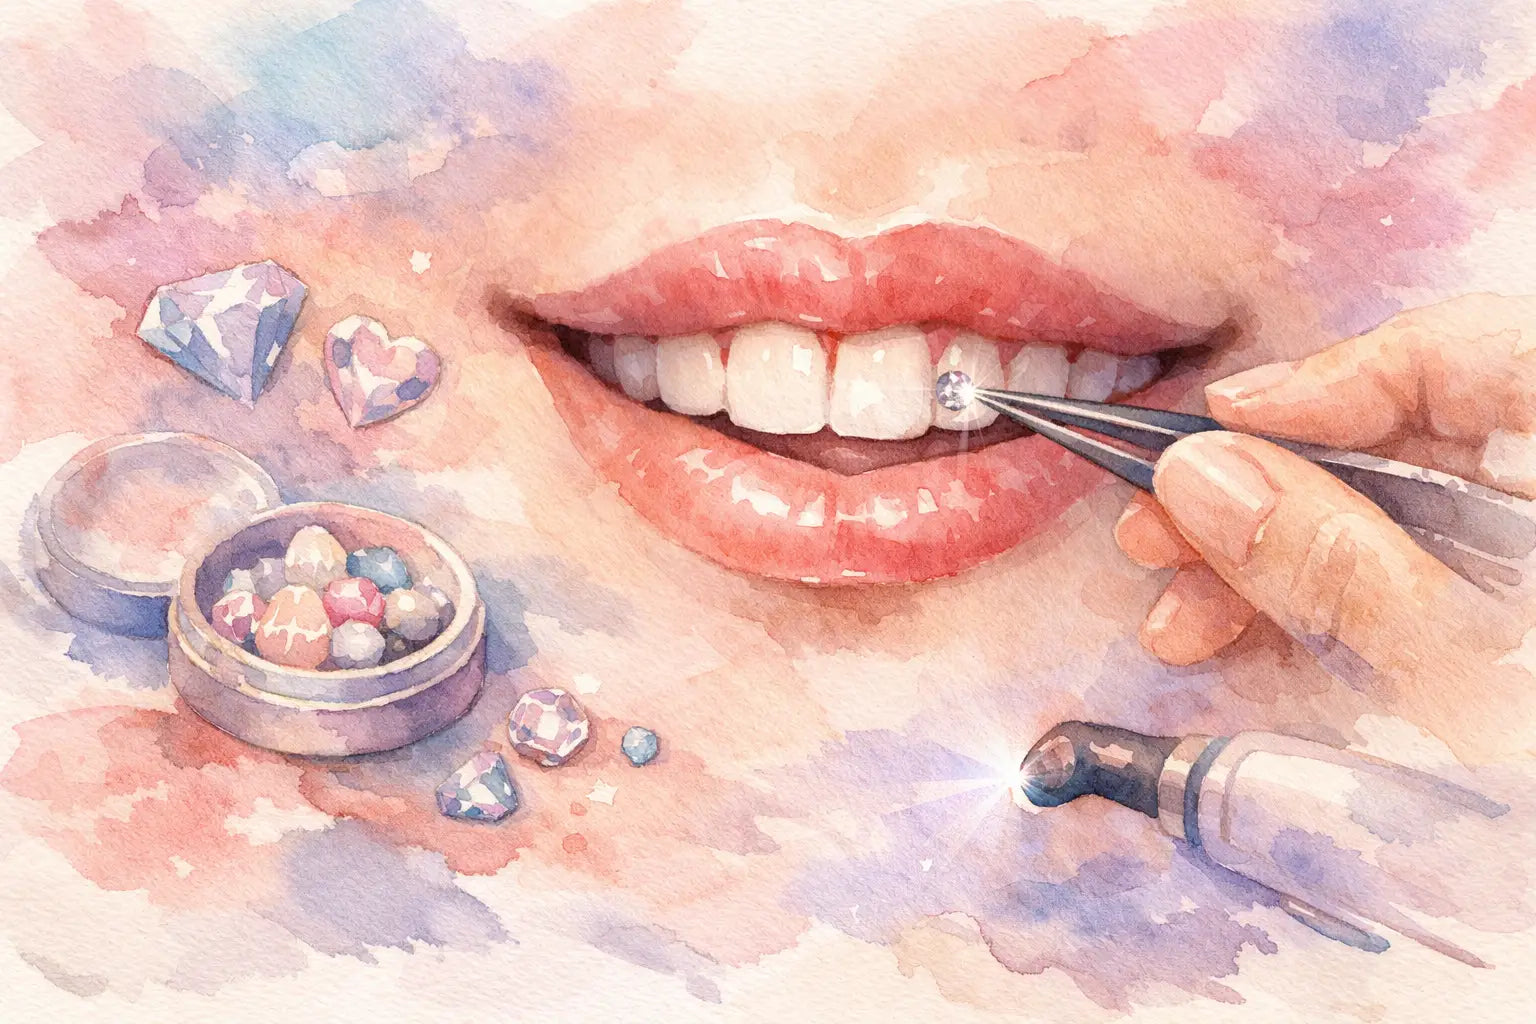
Jewel picker or placement tool
Tooth gems are tiny, slippery, and hard to position with your fingers. A placement tool gives you more control and makes positioning much less frustrating. It also helps you line up the gem before curing, which matters if you care about symmetry and overall finish.
Cotton rolls
Cotton rolls help keep the area dry. Moisture is one of the biggest enemies of adhesion, so this small material plays a bigger role than people expect. They also make the process more comfortable by helping manage saliva while you work.
Cheek hooks or cheek retractors
These keep the area visible and easier to access. If you’ve ever tried to place a tiny gem while managing your lips and cheeks at the same time, you already know why this helps. It’s one of those tools that can make a beginner feel instantly more confident.
Materials people forget, but usually wish they had
A lot of first-time shoppers focus on the gem and adhesive, then realize mid-application that visibility and control matter just as much. Good lighting is one of the most overlooked setup details. You want to clearly see the placement angle, especially if you are aiming for a centered or slightly off-center look on a front tooth.
A clean mirror setup matters too. If your mirror is too small or poorly positioned, placement can become guesswork. Some people also like having gauze or lint-free wipes nearby to keep the area tidy during prep.
You may also want to think about timing. A rushed application usually shows. Having your materials laid out in order before you begin can make the whole process feel much easier, especially if this is your first time trying a DIY beauty look that involves curing.
Ready-made kit or build your own?
This depends on your comfort level. If you are brand new, a ready-made kit is usually the easiest choice because the materials are selected to work together. That takes out a lot of second-guessing. You can focus on the fun part - choosing your gem style and learning the application process.
If you already know the basics, building your own setup can make sense. Maybe you want a certain gem shape, extra bond, or replacement tools instead of buying a full kit again. That flexibility is great, but it does mean you need to be more intentional about the materials list.
For most beginners, convenience wins. A curated system feels less overwhelming and gives you a more streamlined start. That’s part of why brands like SelfGem resonate with first-time shoppers who want the stylish result without the salon appointment.
A smart tooth gem kit materials list for beginners
If you want the simple version, your beginner setup should include one gem design, etch, bond, a UV lamp, a jewel picker, cotton rolls, and cheek hooks. That covers the full application flow from prep to placement to cure.
You can absolutely add more later, especially if you want to experiment with different gem shapes or keep backup materials on hand. But for your first application, the goal is not to build a huge beauty station. The goal is to have the right products for a clean, confident start.
Why quality matters more than quantity
It’s tempting to think more supplies automatically means a better setup. Usually, it’s the opposite. A shorter, well-chosen list is often better than a bulky kit filled with pieces you do not understand or use.
The biggest quality factors are compatibility, ease of use, and reliability. Your etch, bond, and curing light should work as a system. Your gem should be made for cosmetic tooth styling. Your tools should help with precision rather than making the process more awkward.
This is especially true if you care about results that look intentional on camera and in person. A sparkling smile looks best when the gem placement is neat and the application feels secure. That polished finish comes from using materials that support control, not chaos.
Before you buy, think about your style goals
Not every shopper wants the same look. If your vibe is minimal, a small crystal may be enough. If you want a more playful or expressive finish, shapes like hearts or butterflies can create a bolder beauty moment. Your materials list stays mostly the same, but your gem choice changes the overall effect.
It also helps to think about how often you plan to wear tooth gems. If this is a one-time look for a trip, event, or content shoot, a simple setup may be perfect. If you think tooth gems might become part of your regular beauty routine, investing in dependable tools makes more sense.
That balance between beauty and practicality is what makes a DIY kit feel worth it. You want products that support your style, but also make the process feel easy enough to repeat.
Common mistakes when building your kit
The first mistake is buying only the gem and assuming that is enough. The second is underestimating the prep step. The third is skipping tools that make placement easier, then getting frustrated when the gem will not sit where you want it.
Another common issue is treating all adhesives or lights as interchangeable. They are not always. A mismatched setup can lead to uneven results, which is exactly what most beginners are trying to avoid.
If you want a smoother experience, keep your focus on essentials that support adhesion, visibility, and control. That combination is what turns a trend-inspired idea into a wearable, radiant look.
A good tooth gem setup should feel exciting, not confusing. If your materials list is simple, complete, and made for DIY beauty, you’re already much closer to the sparkling finish you want. If you want the easiest way to cover the essentials in one go, the materials and tools collection makes it easier to build a complete setup around your next look.