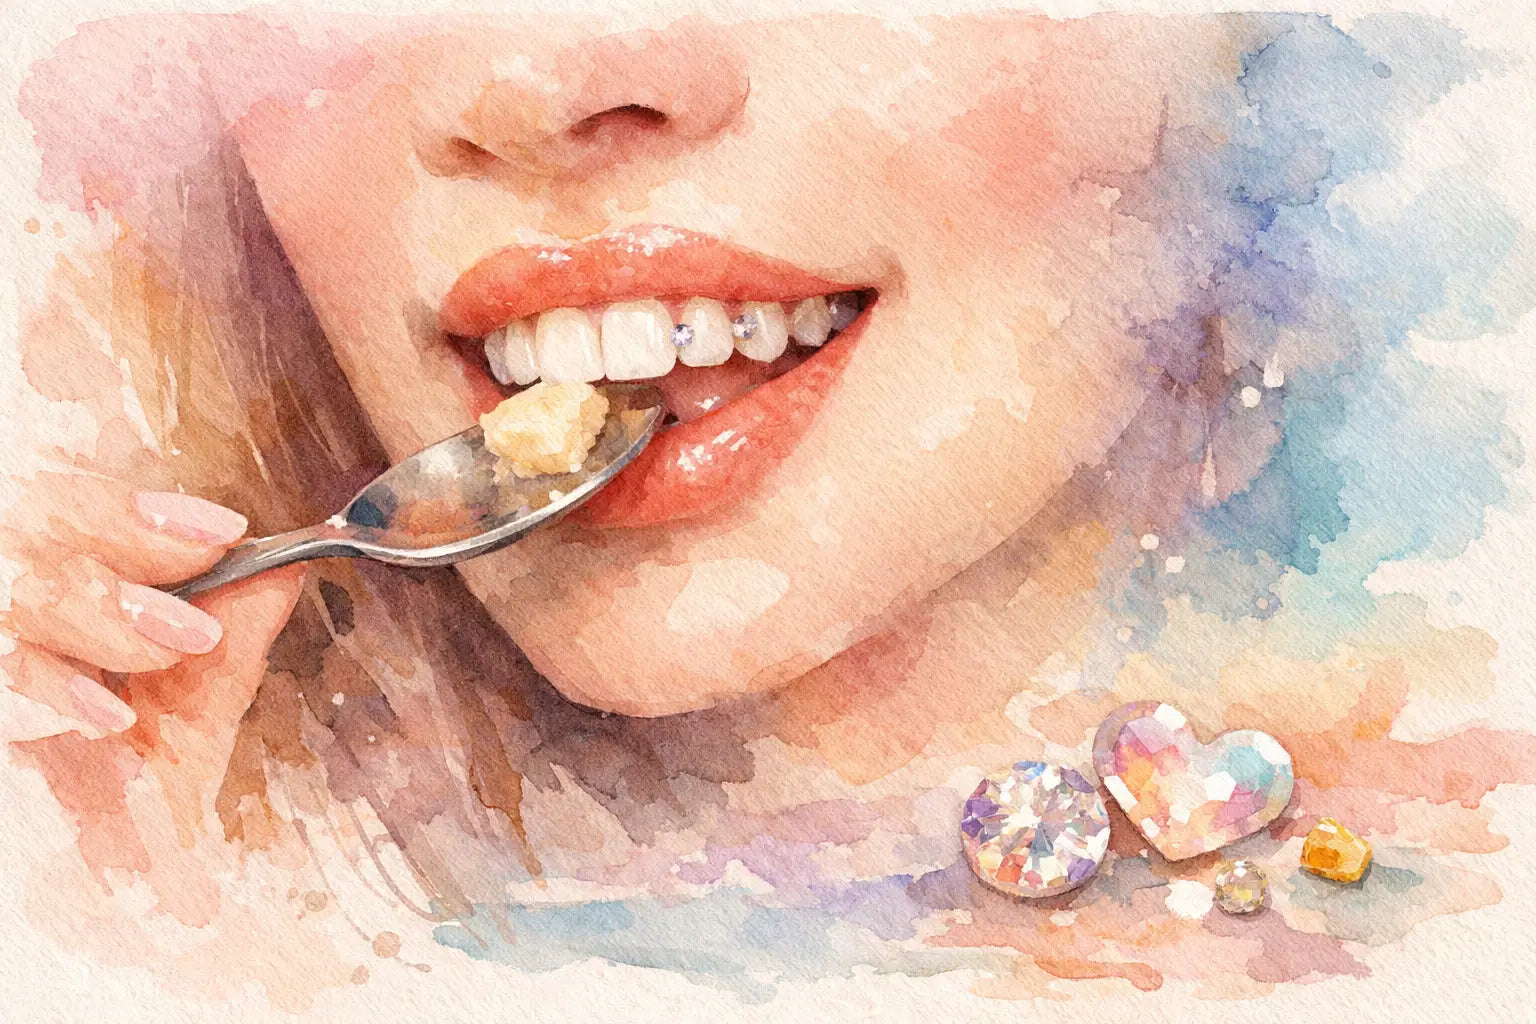
A tooth gem that slides off by bedtime usually is not about the gem - it is about the cure. If you are wondering how to cure tooth gems so they stay put, keep their shine, and give you that polished sparkling smile, the curing step is where everything gets real. It is the moment your adhesive hardens, bonds, and locks the gem into place.
The good news is that curing tooth gems at home does not have to feel intimidating. With the right prep, the right lamp, and a little patience, the process is very manageable for beginners. The trick is understanding that curing is not just waving a light near your tooth and hoping for the best. A solid cure depends on clean technique, correct timing, and keeping everything dry from start to finish.
What curing a tooth gem actually means
When people ask how to cure tooth gems, they usually mean one of two things. They either want to know how to harden the adhesive with a UV or LED curing light, or they want to know how to make the full application last longer.
Technically, curing is the step where the bonding material sets under light exposure. The adhesive changes from a workable gel into a hardened layer that holds the gem against the enamel. If that process is rushed or uneven, your gem can shift, fall off early, or feel less secure than it should.
That is why curing is not a standalone moment. It works best when the steps before it are done well too. If the tooth surface is wet, if the bond is applied unevenly, or if the gem moves during light exposure, even a strong lamp may not save the result.
How to cure tooth gems step by step
The best way to approach this is like a beauty service with precision. Cute result, careful technique.
Start with a completely clean, dry tooth
Before you even think about the curing light, the tooth needs to be prepped properly. Any moisture, oil, or leftover film on the enamel can weaken the bond. That includes saliva, lip products, and residue from food or drinks.
Dry isolation matters more than most first-timers expect. Cotton rolls and cheek retractors help because they keep the area visible and reduce the chance of saliva creeping in while you work. If the surface gets wet after prep, dry it again before moving forward.
Apply your prep products in the correct order
Most DIY tooth gem systems use an etch and bond process before the adhesive and gem go on. That order matters because each layer has a job. The etch helps create a surface the adhesive can grip. The bond supports adhesion and helps the gem stay secure. Then the adhesive is placed, followed by the gem.
If you skip a step or rush between them, the cure can be less effective because the adhesive is not working with the ideal surface.
Place the gem carefully before curing
Once the gem touches the adhesive, you want it positioned exactly where you want it. A jewel picker or placement tool helps here because fingers are too bulky and can easily shift the gem or contaminate the area.
Try not to drag the gem around once it is set into the adhesive. Small adjustments are fine, but too much movement can spread the bonding material unevenly. That can affect how well the light cures the adhesive underneath and around the gem.
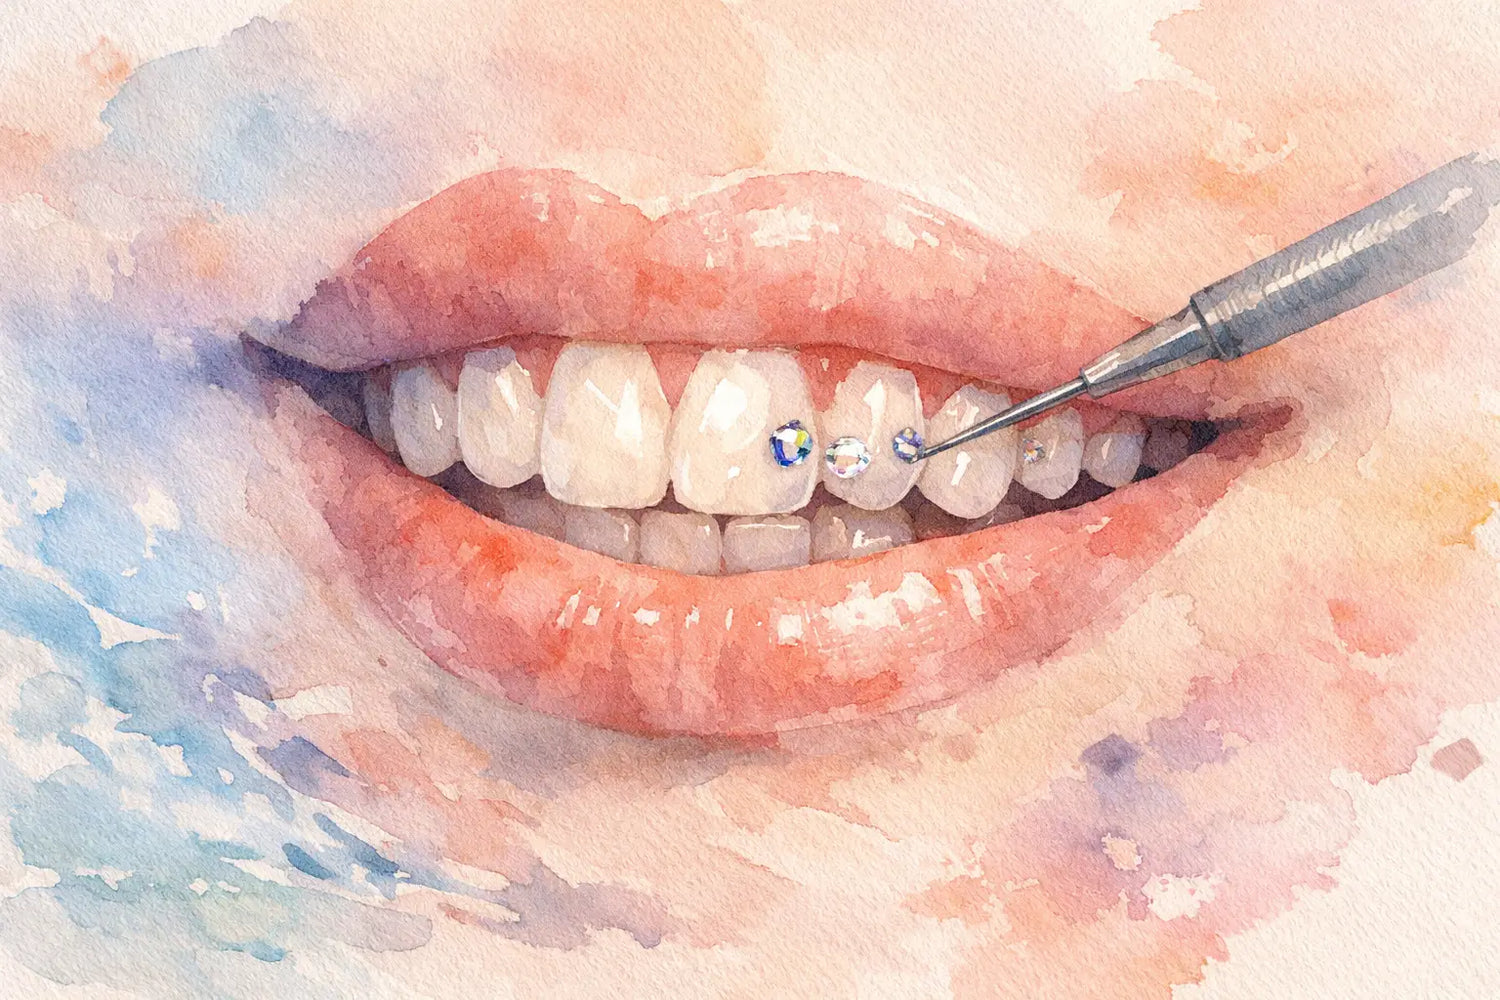
Use the curing light directly and steadily
This is the key part of how to cure tooth gems successfully. Hold the UV or LED lamp close enough to fully expose the adhesive area, following the timing recommended for your materials. Keep the light steady and aimed directly at the gem rather than at an angle.
If the light drifts, the cure may be uneven. If the timing is too short, the adhesive may not fully harden. If the person getting the gem moves a lot during curing, the bond can weaken before it has the chance to set.
A lot depends on the lamp and adhesive system you are using. Some formulas cure faster than others. Some lamps are more powerful or designed for specific materials. That is why matching your products matters. A random light with unknown output may not deliver the same result as a lamp intended for cosmetic bonding.
Give it enough time
One of the biggest mistakes with DIY tooth gems is under-curing. People get excited, flash the light for a few seconds, and assume they are done. For a lasting hold, the adhesive needs the full recommended cure time.
If your system suggests curing from more than one angle, do that. Front exposure may not always reach every part of the adhesive equally, especially depending on gem size and shape. A slightly longer, more thorough cure is usually better than stopping too early.
Common mistakes that ruin the cure
A tooth gem can look perfect for ten minutes and still fail because something small went wrong during application. The most common issue is moisture. Saliva contamination before curing is a major reason gems do not last.
Another problem is using too much adhesive. More product does not automatically mean a stronger hold. In fact, excess adhesive can make placement messier and may affect how evenly the light reaches the material. Too little adhesive is also a problem, so balance matters.
Lamp positioning is another overlooked detail. If the curing light is too far away or not aimed directly at the tooth, you may get a partial cure instead of a complete one. That can leave the bond weaker than it looks on the surface.
Then there is movement. If the gem shifts while curing, the final bond can be compromised. Staying still for those few moments really does matter.
How long should tooth gems cure?
There is no single universal cure time because different adhesive systems have different formulas. That is the honest answer. Anyone promising one exact timing for every kit is oversimplifying it.
In general, you should follow the instructions that come with your specific etch, bond, adhesive, and lamp. Those products are designed to work together. If you mix systems or guess at timing, you create more room for error.
If you are using a complete kit, that usually makes things easier because the components are meant to be compatible. SelfGem, for example, focuses on beginner-friendly application tools and educational support, which makes the process feel a lot less confusing for first-time users.
What to do right after curing
Even after the adhesive is cured, the first hours matter. Avoid touching the gem with your fingers or tongue too much right away. That is a habit a lot of people do without realizing it, especially when the gem feels new.
It also helps to wait before eating hard, crunchy, or sticky foods. You want the area to settle without immediate pressure. Soft foods and drinks are usually the safer move at first. Think low drama for the rest of the day.
Keep your oral care gentle but consistent. Brush carefully around the gem and avoid aggressive picking at it. A well-cured gem should feel secure, but treating it gently helps protect the result and your enamel.
How to tell if your tooth gem cured properly
A properly cured tooth gem should feel stable, not wobbly. It should sit cleanly on the tooth without obvious sliding or lifting. The adhesive should not look smeared everywhere, and the gem should stay in place when you talk and smile normally.
What you do not want is a gem that feels loose, shifts under slight pressure, or pops off almost immediately. That usually signals a problem with prep, moisture control, or curing time.
If something feels off, resist the urge to keep pressing on it to test it. That can make a weak bond fail faster.
Is it better to over-cure or under-cure?
If you are choosing between the two, under-curing is usually the bigger risk. A bond that has not fully set is more likely to fail quickly. That said, you should still follow your product instructions rather than freestyle with extremely long cure times.
The goal is not maximum light forever. The goal is the correct cure for the formula you are using. Beauty results last longer when the process is intentional, not rushed and not random.
How to make cured tooth gems last longer
If you want your gem to keep serving that radiant look, the cure needs support from your aftercare. Avoid biting directly into very hard foods, and do not use your teeth as tools for opening packaging or bottle caps. It sounds obvious, but people do it.
Try to keep the area clean without brushing like you are scrubbing grout. A soft, careful routine is usually enough. If you grind your teeth or have a habit of tapping the gem with your tongue, that can shorten wear time too.
The truth is that long-lasting tooth gems are part technique and part lifestyle. The better your cure, the better your chances. But day-to-day habits still matter.
A good tooth gem moment should feel easy, stylish, and confidence-boosting - not stressful. When you take your time with prep, keep the tooth dry, and cure the adhesive exactly as directed, you give your sparkle the best shot at staying bright and beautiful.